Time: 2025-09-11 01:22:14 Source: Cangzhou Carbon Technology Co., Ltd.
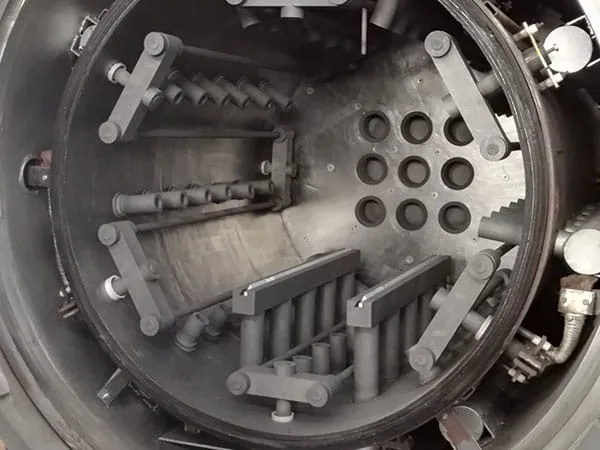
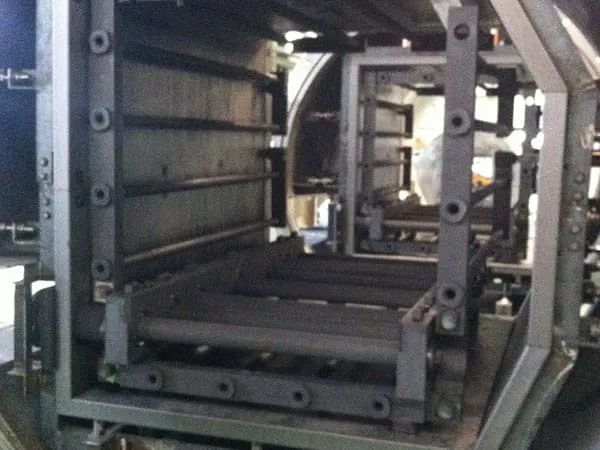
Proper installation of a vacuum furnace graphite rack is a precise process that requires following the manufacturer's specific instructions. Generally, it's part of the broader assembly and maintenance of the furnace's hot zone.

Installing the graphite rack in a vacuum furnace requires careful attention to detail to ensure proper function and avoid damage. Here's a general guide to help you through the process:
Read the Manual: Always consult your specific vacuum furnace's operation manual for detailed instructions and safety precautions.
Power Off: Ensure the furnace is completely powered off and locked out to prevent accidental startup.
Cool Down: Allow the furnace to cool down to a safe temperature before opening.
PPE: Wear appropriate Personal Protective Equipment, including gloves (clean, lint-free), safety glasses, and potentially a respirator if there's any chance of dust.
Inspect Components: Carefully inspect all graphite components (rack, hearth, supports, screws, nuts, washers) for any damage, cracks, or chips. Ensure they are clean and free of debris.
Cleanliness: The vacuum furnace environment must be pristine. Clean the furnace chamber thoroughly, removing any old insulation, dust, or foreign particles. Use a vacuum cleaner designed for cleanroom environments if possible, and wipe surfaces with lint-free cloths.
Tools: Gather all necessary tools, which typically include wrenches (torque wrench may be needed), screwdrivers, and possibly lifting aids for heavier components.
Here’s a general sequence, but adapt it to your specific furnace design:
Install the Hearth/Base Plate:
Carefully place the graphite hearth or base plate at the bottom of the furnace chamber. Ensure it sits flat and is properly aligned with any reference points or supports.
Some designs may have locator pins or slots to guide placement.
Assemble the Rack Structure (if not pre-assembled):
If your graphite rack comes in modular pieces, assemble them outside the furnace if feasible, or assemble them incrementally inside.
Side Supports/Posts: Install the vertical graphite posts or side supports. These often sit on the hearth or are secured to the furnace walls with graphite fasteners.
Shelves/Trays: Carefully slide or place the graphite shelves or trays onto the support posts. Ensure they are level and securely seated.
Fasteners: Use only graphite screws, nuts, and washers to secure graphite components. Metal fasteners are generally avoided due to different thermal expansion rates and potential contamination at high temperatures.
Torque: If specific torque values are provided for graphite fasteners, adhere to them. Over-tightening can crack the graphite; under-tightening can lead to instability.
Ensure Proper Spacing and Alignment:
Verify that there is adequate space between shelves for your parts and for proper gas flow during processing.
Check that all components are aligned correctly to prevent interference or uneven heating.
Install Insulation (if applicable):
If your furnace design requires graphite felt or board insulation around the rack, install these carefully. Ensure they fit snugly without gaps that could allow heat loss.

Stability: Gently test the stability of the entire graphite rack. It should not wobble or shift easily.
Clearances: Ensure there are no obstructions to the heating elements, thermocouples, or gas nozzles.Door/Lid Clearance: Close the furnace door/lid to ensure all components clear it properly and there's no interference.
Outgassing: Graphite, especially new graphite, contains absorbed gases and potentially some manufacturing residues. It's critical to perform an initial bake-out (sometimes called a "pre-firing" or "degassing cycle") before processing actual parts.
Procedure:
Pump down the furnace to its ultimate vacuum.
Slowly ramp up the temperature, holding at several intermediate plateaus (e.g., 500°C, 1000°C, 1500°C – consult your furnace manufacturer's recommendations).
Monitor the vacuum level. It will likely degrade significantly during the bake-out as gases are released. Hold at each plateau until the vacuum recovers to an acceptable level.
Continue to the maximum anticipated operating temperature (or slightly higher) and hold until outgassing subsides.
Cool down slowly.
Why it's important: Skipping this step can lead to contamination of your product, poor vacuum performance, and extended cycle times during actual production runs.
The above is a guide to installing the graphite rack for vacuum furnaces. Following these steps will help ensure the safe, efficient and long-lasting installation of the graphite rack for vacuum furnaces.